Step by Step: How to Convert Your Image to Amstrad CPC Floppy Format (DSK)
In detail, the process of converting your image for Amstrad can be divided into 3 steps: You will need Image-To-Amstrad-CPC
Download Image-To-Amstrad-CPC

Convert your image (preview then convert)
In a Windows command prompt, type:
ImgToCPC -blue "D:\My folder\MyPhoto.jpg"
ImageToAmstradCPC allows you to preview the conversion of your image in the desired palette.
For example, -blue for a blue palette and -red for a red palette.
More pre-set palettes or define your own palette.
More pre-set palettes or define your own palette.
By default it is the "4 colors" mode which is used
(Amstrad MODE 1).
But you can set option
-mode0 for mode 0 (16 colors), or
-mode2 for mode 2 (2 colors).
Help on how to choose the mode 0,1,2 which suits best.
Get the ".DSK" floppy file
When you launched ImgToCPC, it should also have generated a "MyPhoto.DSK" file.
This is the Amstrad floppy disk file format that can be understood by an Amstrad CPC emulator like WinAPE or CPCBox.
Make a copy and paste of this DSK file in the "roms" folder of your Amstrad emulator.
Normally the Amstrad emulator will display “Ready” on startup, like an original Amstrad that has just been powered on.
Insert the floppy disk ("Drive A" menu: select DSK file)
Display the image on the Amstrad screen
Type run"imgtocpc"
The image will load and be displayed in a few seconds.
Press ESC twice to exit the program.
The image will load and be displayed in a few seconds.
Press ESC twice to exit the program.
Out of curiosity, you can also type "cat" to see the contents of the floppy disk.
Note that if you still have an Amstrad in working order,
you can also copy the contents of this DSK file to an original Amstrad 3.0” floppy disk.
When the Amstrad indicates "Ready", insert the floppy disk in the drive and type run"imgtocpc"
Select the "best" post-process
There are 3 types of post-process:
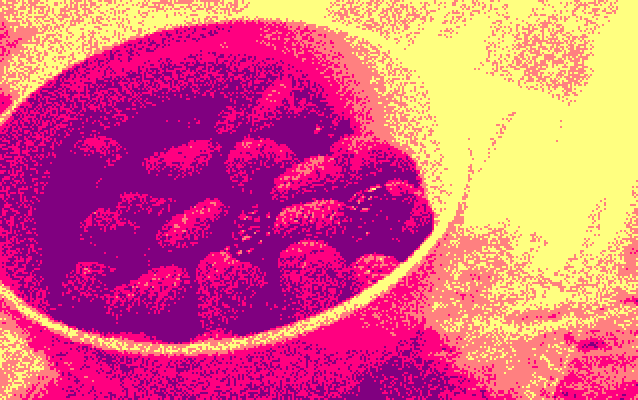
1) “Gradient by distributed random noise” -grad
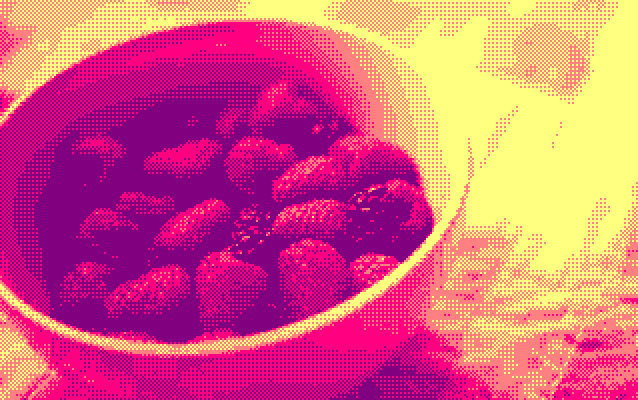
2) “Gradient by Dithering” -dither
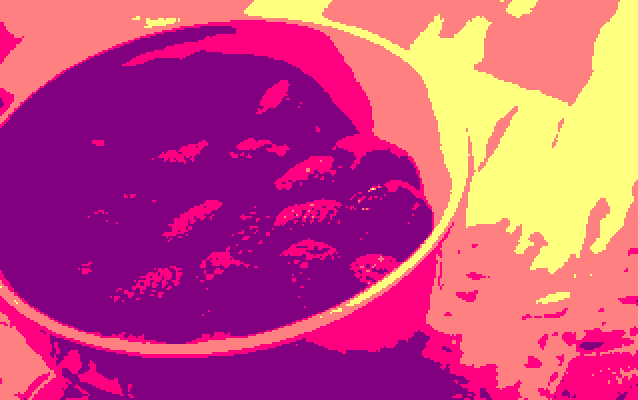
3) “To nearest” -sharp = -nearest
Each of these post-process types will calculate the final color to be displayed differently.
1)
 “Gradient by distributed random noise” -grad
2)
 “Gradient by Dithering” -dither
3)
 “To nearest” -sharp = -nearest
Each of these post-process types will calculate the final color to be displayed differently.
This is combined with 2 types of palette mapping:
a) “by color affinity” -affinity
b) “by grayscale” (or “light intensity”) -grayscale
a) “by color affinity” -affinity
b) “by grayscale” (or “light intensity”) -grayscale
Which will give 6 different results in total for the same image and palette.
Original image to be converted
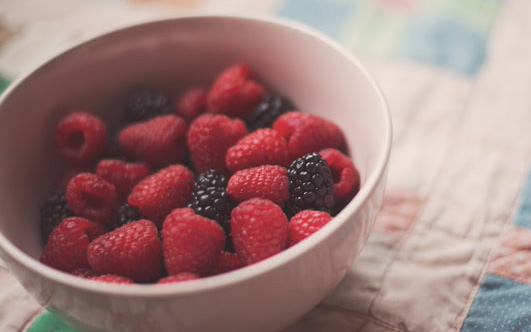
Images 1a, 2a, 3a showing the 3 types
“Noise gradients” (-grad), “Dither” (-dither), and “Nearest” (-nearest)
—with the mapping “by color affinity” (-affinity):
“Noise gradients” (-grad), “Dither” (-dither), and “Nearest” (-nearest)
—with the mapping “by color affinity” (-affinity):
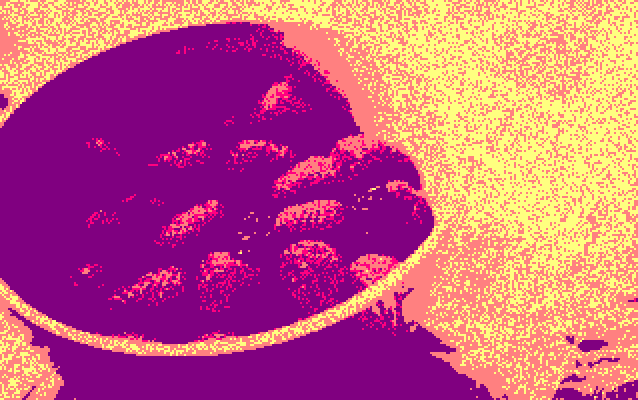
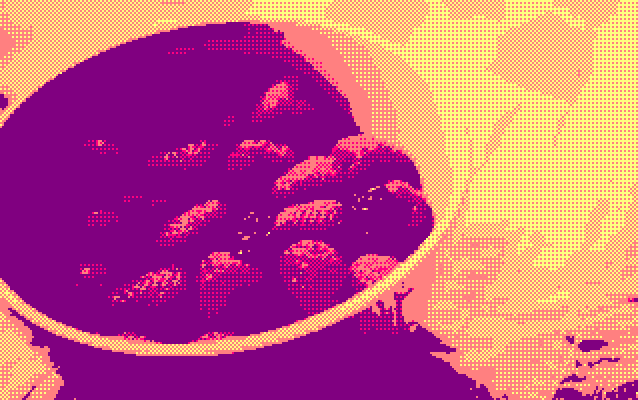
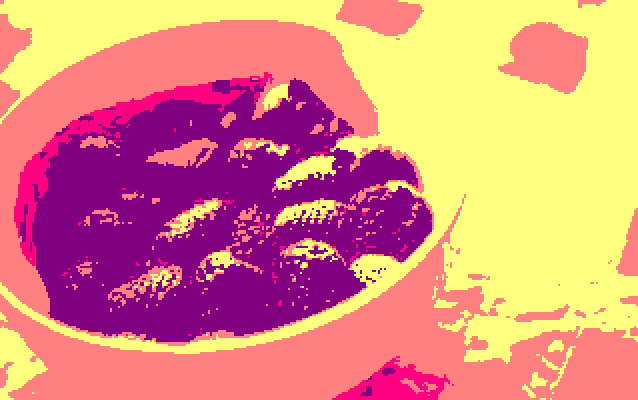
Images 1b, 2b, 3b showing the 3 types
“Noise gradients” (-grad), “Dither” (-dither), and “Nearest” (-nearest)
—with the mapping “by grayscale” (-grayscale)
“Noise gradients” (-grad), “Dither” (-dither), and “Nearest” (-nearest)
—with the mapping “by grayscale” (-grayscale)
Select graphics mode
Different results depending on the MODE in use: Some examples.
When using mode 0 (16 colors) the palette you choose is important
and you will probably prefer color detection by affinity (-affinity).
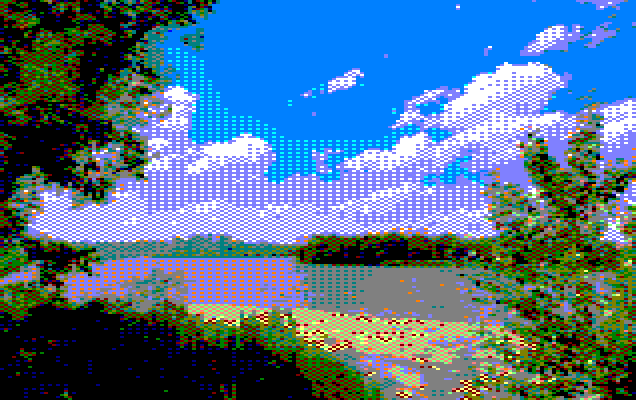
Options / palette used: -mode0 -dither -affinity -pc0,1,2,11,20,26,14,15,16,22,25,3,9,12,10,13
When you use mode 1 or 2 (4 and 2 colors) you will surely opt for one of the
predefined palettes associated with the -grad option
to detect the colors by grayscale and thus bring out the contrast.
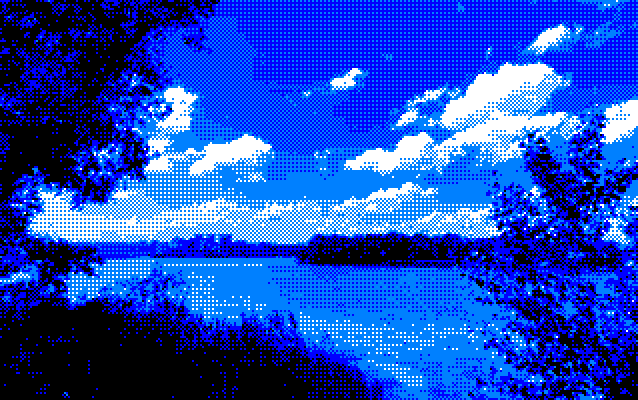
Options / palette used: -mode1 -dither -grad -pc0,2,11,26
There is no rule because it depends on your images, their colors and contrasts. Do not hesitate to test different options.
How does ImgToCpc's .BAS launcher animate pixels?
What the IMGTOCPC.BAS launcher file does in detail,
when you run it by run"imgtocpc":
- It switches to the desired Amstrad graphic MODE.
- It defines the colors of the palette (INK function).
- With the LOAD function, it loads the image contained in the binary file MYPHOTO.BIN, and will write it to the memory address of the screen (that is to say 0xC000 in hexadecimal).
- It scours a list of pixels (or rather a list of screen memory addresses) and will loop over them (DATA and READ functions).
- Some pixels are modified by applying the operation XOR (so that calling XOR twice gets back to initial state). PEEK and POKE makes it possible to alter the color value of the pixel to change just by passing the screen memory address and the result of the XOR calculation.
It is important to note that these pixel positions are not given at random, these were pre-calculated when you ran ImgToCpc on your image to find positions with strong contrasts, so that the result become more interesting. - Some other pixels are not altered (although they remain in the list), it is pure random (RND function).
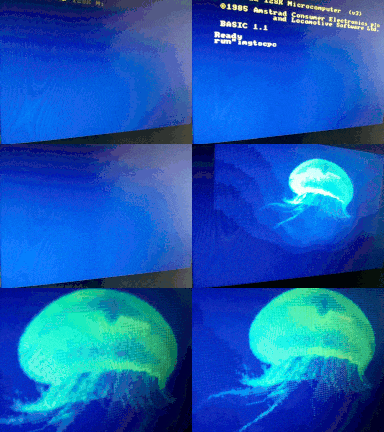
The limitations of Amstrad hardware oblige us not to be too greedy in terms of fluidity and the number of pixels to modify.
That's why we should only give a few pixels to alter in the list,
otherwise the system would take too long to go through the list and we would not have the feeling the image is animated.
By default the number of pixels on which the launcher will loop is 100.
You can reduce this number (to increase smoothness) with the -noisepts option (for example -noisepts20),
or increase this number but watch out for performance issues.
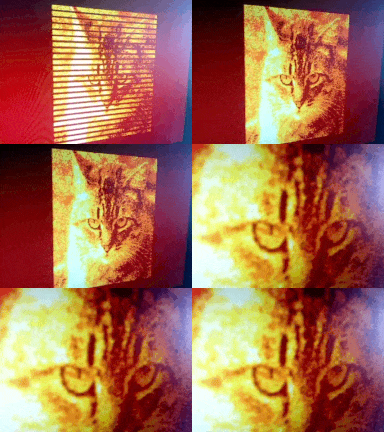
Historically the first versions of the BAS launcher of ImgToCpc used the MOVE and PLOT functions, but the results were very slow!
After rewriting this code using the PEEK and POKE functions, it doubled the speed,
and therefore in the same amount of time you can display twice as many changing pixels.
Credit Images:
- Man with cap in orange palette : "This Person Does Not Exist" www.thispersondoesnotexist.com
- Bowl of raspberries : Tara Evans https://unsplash.com/@taradee
- Tropical forest island landscape : Kyrylo Kholopkin https://unsplash.com/@kholopkin
- Jelly fish in blue water : 贝莉儿 DANIST https://unsplash.com/@danist07
- Ginger cat in orange palette : "This Cat Does Not Exist" www.thiscatdoesnotexist.com
Read more
